Sunday, February 19, 2012

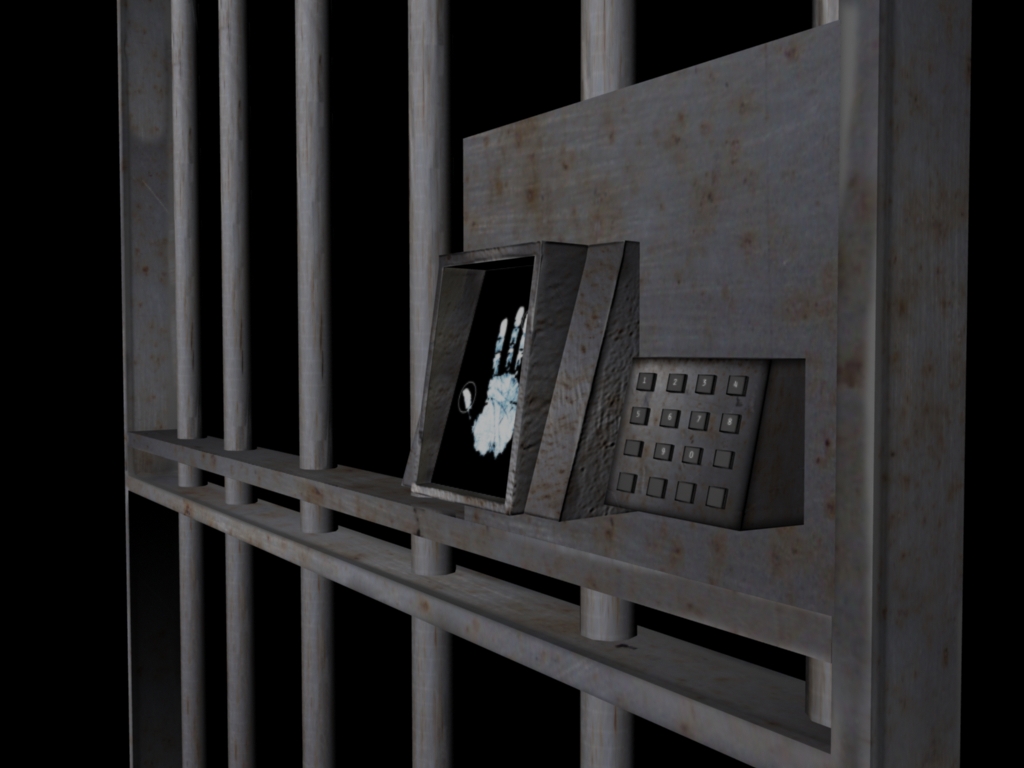
Jail Cell Door

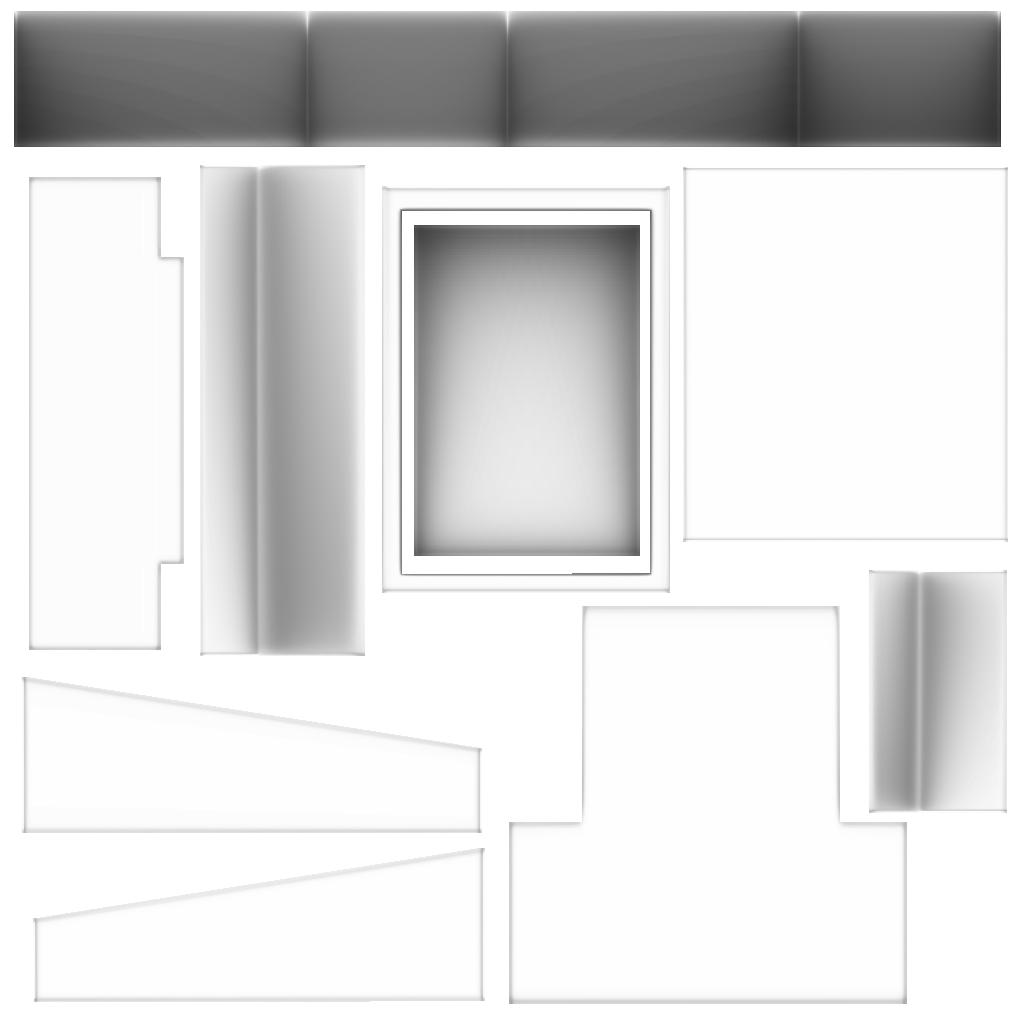
Today I finished up the textures and some of my edited normal maps for my jail cells main doors and bars. Each piece was modeled, normal'd/AO'd and textured separately so that I can custom build with each piece. Also, I can re-use some of the pieces for debris or other places within the level.  The low poly modeling was all done inside of Maya. All of the pieces were exported to Mudbox to add some scratch detail (some of which is not shown in the screenshots because I have not finished the composite normals, which I will show the process on later). Most of the pieces got a base paint layer inside of Mudbox. I used photoshop to make sure everything looked very uniform where it needed be and to erase any seams or patterned paint. I  am showing the normals, AO's and spec maps for the more complex pieces, which really aren't complex but the all the maps came out really well.

All of my renders were done using Maya software because my graphics card is having issues with Mental Ray not being enabled at times. Still not sure what is causing this issue. 


AO Map for the Hand Scanner

Composite Normal Map

Composite Spec Map

AO Map for Digital Button Lock

Normal Map for Digital Button Lock

Friday, February 17, 2012

Completed Asset: Steel Beam

Fairly simple steel beam. Limited to very few faces but I tried to do a nice texture on it to reflect the environment. Again, modeled in Maya and exported to Mudbox for higher detail. Ran into a few issues with some strange inverted normals on my higher poly base model. I deleted all of my extra edge loops and re-looped everything and reimported it into UDK, which fixed the disappearing faces issue. The problem was likely that my edgeloops were so close together that the face normals may have overlapped which caused a problem for UDK.

 Normals and AO's were done in Mudbox and edited in Photoshop. The original texture was made in Photoshop and stenciled in Mudbox. I then exported that and reimported to Photoshop, tweaked some things and created my Spec Map using that.


This image is a .png I made to represent grime and such on the bottom of the steel beam.


 Here are some in-game UDK renders of the steel beam.


Spec Maps For Rock Wall, tutorial included:

I've used spec maps before but I never really got very in-depth with them until today. The procedure I used is pretty standard in my eyes but I figured I would post how I got them to turn out the way they did. I like them, personally, the workflow went pretty easily for me. Took me about 20 minutes to turn out a good set.

First is a list of assets you need.
>Texture Map for your model
>Normal Map for your model
>Texture you want to use as a Specular Map

Note: In your model, a Lambert won't have the specular channel to place files into. Make sure you are using a blinn or phongE to use the specular channel.

First Step is to open Photoshop (whichever version you have, I personally still use CS3 because the controls are very familiar and it's very stable under large file sizes).

1) Open your normal map and your chosen specular texture. I started with my Specular Texture. This texture needed a bit more randomness to it so I duplicated it until it fit my image size and used the clone stamp tool to add the randomness I needed. I then desaturated this layer. Save as a new .png (or whichever extension you are using). Do not close the image just yet.


2) Next I brought up my Normal Map. First thing I did was to unlock the layer and add the Filter > Stylize > Find Edges. This brought out the edges based on color which matched each other according to depth from the Normals. Everything that didn't have an edge went to white. I desaturated this layer and then inverted which pops the edges out to white and everything else to black. I also went into the adjustments setting and tweaked it a bit until the edges were a little less solid. Being a rock surface I didn't want really hard edges to pop out, I wanted them a bit softer. Save as a new file and close, don't save over your original.

3) Bring your new desaturated normal map into your new desaturated Spec Texture image. I first toyed with setting the normal map to overlay but it blended in a bit too much. I chose to use the screen option and adjusted my levels to again make it a bit less solid. Optional: I still wasn't really happy with the brightness of some of the edges. I duplicated my screened normal map and set it to normal on TOP of my screen. This popped out the lines while giving softer light on the outer edges. Next, bring in your chosen texture for your model (whichever you use as a color diffuse), desature and then set it to overlay. I took mine to about 30'ish percent opacity. That finished my specular map.

Edit: In the end your layers should look like this from top to bottom:
>Overlay Texture Map
>Desaturated Normal Map
>Specular Texture Map

Again, layers may need tweaking to function in this order. They don't necessarily need to be in this order.


This gave my overall model a nice look. When the light hits the model it doesn't have a shine or an apparent dullness. Rather, areas that need to reflect a bit of light do and those that don't gave off less 'shine'.

All in all I'm happy with how my spec map came out. It will never be perfect as I'm still working on how to use spec maps properly. I'm also not trying to teach anyone but sharing how I got my spec map. I'm always open to suggestions and critiques on my work. Also, I'm currently messing with the reflection/refraction channels using my spec map and an inverted version of my spec map to bounce light and absorb light in tandem.

Thursday, February 16, 2012

Personal Work in Progress

As a personal challenge and as a suggestion from a friend I've decided to work on a project that isn't school related. I gave myself one night to model as much as I could. I decided to go for an Arthurian theme because I've come to enjoy doing environment and asset modeling. This is a test to see what I really enjoy in modeling and how fast my workflow can be. After finally settling on my subject matter everything came together pretty well and pretty fast. This is by no means the end of this project. In detail, the floor and table are both high poly'd and everything else is low poly'd. Everything is UV'd and ready for high poly work.

Here are a couple of screen just to show you what I had in mind as far as the general layout:


In Game UDK Screens

I am testing out the collision on my models I built in UDK just to make sure everything works/no holes/etc... Posting up a few screenshots showing in game texture and some simple point lighting.

Note: The wall texture is not my own texture, it is a standard material in UDK. All other models/textures were done by me. 


Tuesday, February 14, 2012

Completed Asset: Rock Sink

Within the jail cell level I'm creating are various assets. The following is a sink made from stone that I decided to give a more natural texture. I'm not completely sold on which texture set I'm going to use. I made the base model in Maya and exported the .obj into Mudbox. I pushed this one to about 1.2million polys @ 7 levels of detail. I used a low poly layer as my base mesh and produced my AO's and Normals within Mudbox. The texture was made in Photoshop which I then imported into Mudbox and created a projected stencil to apply it so there was more randomness and less uniformity. After I brushed it on, I exported that paint layer into photoshop and applied a secondary texture as an overlay and used my AO's as a multiply, but scaled down a bit. Everything was reimported into Maya and rendered from there. Enjoy!


The Normals and AO's are all 4k created in Mudbox. Learning a new way to create normals and AO's has been fun and interesting. 


Sunday, February 12, 2012

1st Completed Rock Wall

Today I'm posting a WIP rock wall that I'm going to be using for my cave jail cell level. I'm not completely set on the textures but I am happy with the way the AO's came out, the normals need a bit of tweaking. I think the use of the scrape tool within Mudbox caused the ribbon effect you see in the normal maps. I will post them as a WIP rather than a completed object.


The AO's were made inside of Maya using a retopo'd front facing of the wall.


The Normal Map was also created in Maya using an envelope with a few tweaks.


The model was made inside of Maya as a low poly proxy. I then took it into Mudbox and ended up with 8 levels at approximately 6 million poly's. I used the level 7 mesh at 400,000 polys as the high poly source for my target mesh which is a mere 324 faces, all quads. The texture is standard procedure with multiple layers of texture along with multiply and overlay layers of the AO map and textures. I have not created a spec map or highlights as of yet. I have yet to decide on a light source and will create them as needed. Enjoy and let me know if you have any feedback.